
CareCloud CDP Tutorials
A Step-by-Step Guide: Use RFM Segmentation in Your Campaigns
By Jan Doleček 11. 9. 2025 Tutorials Analysis, Automation, Emailing, Loyalty
RFM segmentation offers much more than insight into buyers’ behavior. You can easily integrate it into campaigns to grow your revenue and customer loyalty. This tutorial shows the whole process, including campaign design and RFM analysis.
THE POWER OF RFM SEGMENTATION
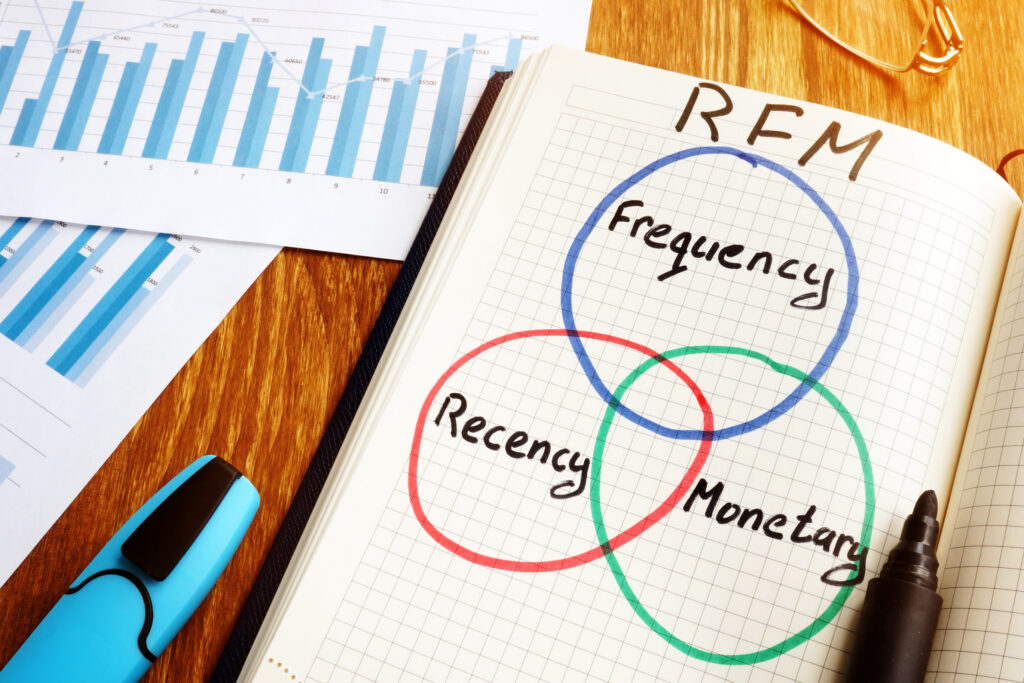
RFM segmentation divides customers into groups based on their transactions: Recency of purchase, Frequency (the number of purchases), and Monetary value (the sum of money they spent). While giving you useful customer insight, RFM segmentation can be practically employed in an email campaign strategy. Everything you need is in CareCloud.
Our mock brand, BeastForm, sells fitness supplements with unique protein powders. Since we have just introduced a new series of protein flavors, it is time to create a campaign with RFM segments in mind.
- First, we will design two versions of the campaign in CareCloud Email Designer: one with discounts for Mid-RFM segments and one without for High-RFM segments.
- Then, we will create a gift reward in the CareCloud Loyalty app.
- Afterward, we will create audiences based on RFM segments and send the two campaigns.
- Finally, we will analyze the key campaign metrics and focus on customer movement between RFM segments.
DESIGNING CAMPAIGNS
Now, we will create two simple promotion templates: a “Mid-RFM Campaign” with a free gift, and a “High-RFM Campaign” without any incentive.
When designing such emails, keep these points in mind:
- Focus on the subject and preheader them most. They are responsible for email opens and will improve your chances of conversion.
- Put the logo (and slogan, optionally) in the upper part of the email.
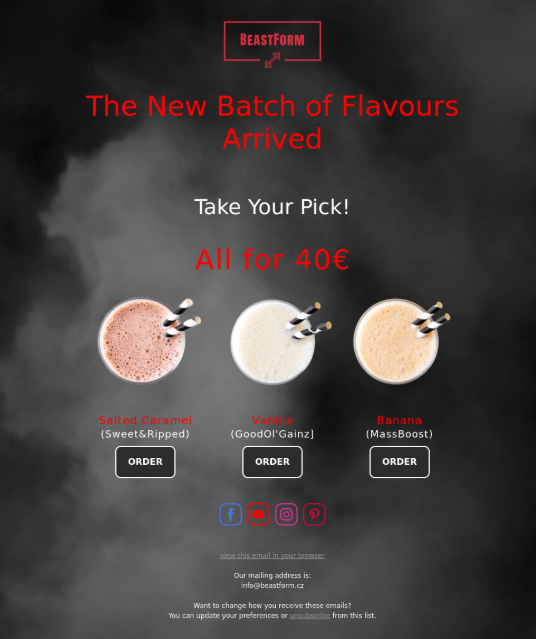
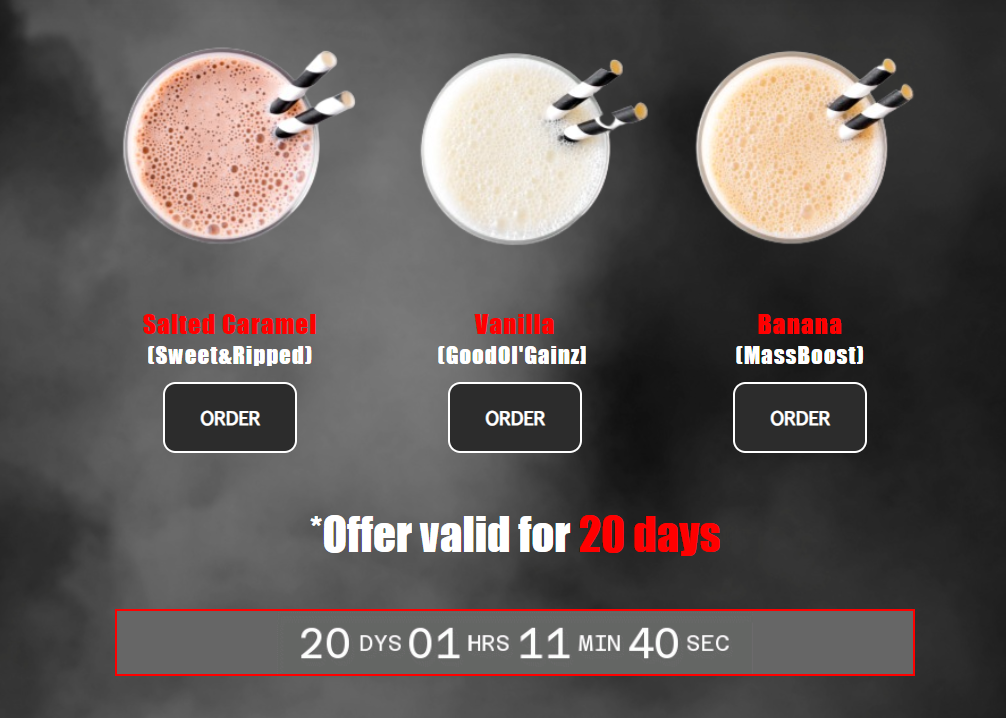
- Don’t make it too long. Our example only has a headline and a CTA, a few products, and illustrative images.
We chose a minimalistic design with a black background and red/white text. More importantly, our email needs to have links to socials and easy unsubscribe options.
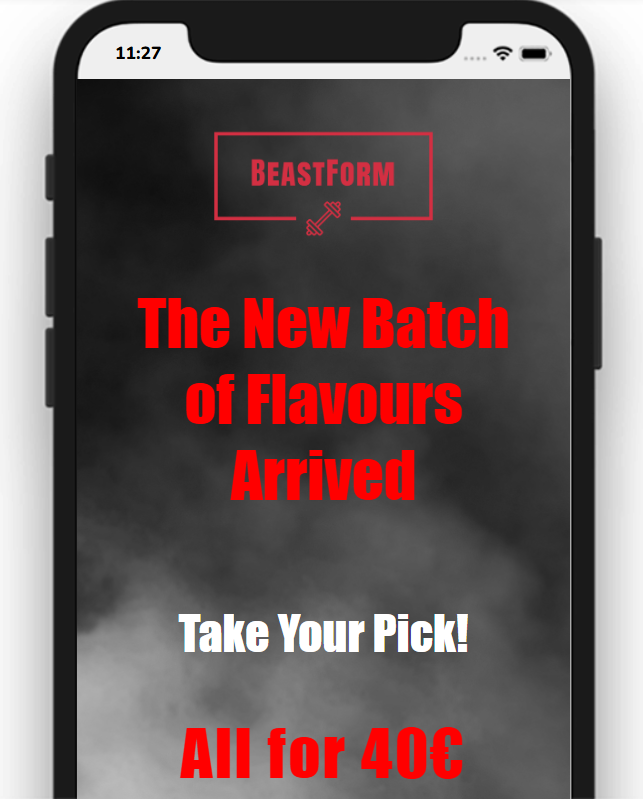
Tip 1#: Always test your emails for mobile devices. Either send it to your own address or use the CareCloud preview tool, which shows you exactly how the email appears on smaller screens.
The second, “Mid-RFM Campaign” email promotes the same products but adds a free gift. We keep the design similar, but specify that customers will receive the gift with their next purchase.
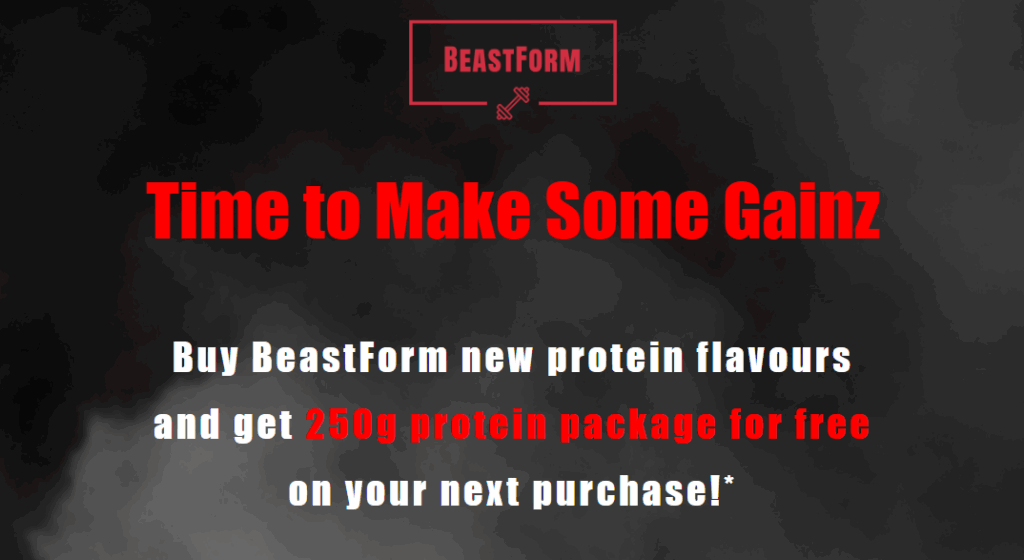
Since the promotion aims to harness urgency, we specify the offer’s validity and add a custom counter (from the email block selection). Be sure to align the date with the reward time settings later on.
These two emails will be the core of our campaign. In the next section, we will create a specific reward for Mid-RFM customers.
CAMPAIGN VOUCHER SETUP
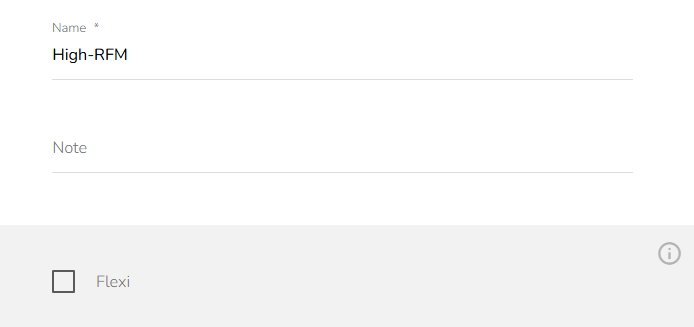
First, we must create two custom segments: “High RFM” and “Mid RFM”. These segments will be useful not only for creating rewards but also for setting up the campaign itself.
Head over to Customer 360 View and create a new segment. Put the following RFM segments in it: Promising, Need Attention, About to Sleep, At Risk, and Cannot Lose Them in the mid RFM segment. As for the High RFM segments, you have Champion, Loyalist, and Potential Loyalist.
Be sure not to check the “Flexi” box when creating segments. This will ensure that customers who shift between segments during the campaign do not receive both emails.
Now we will create a custom cash desk reward for Mid-RFM segments in Loyalty & Administration. Go to Loyalty settings — Rewards/vouchers — Cash desk rewards. We will call the voucher “Mid-RFM Gift.”
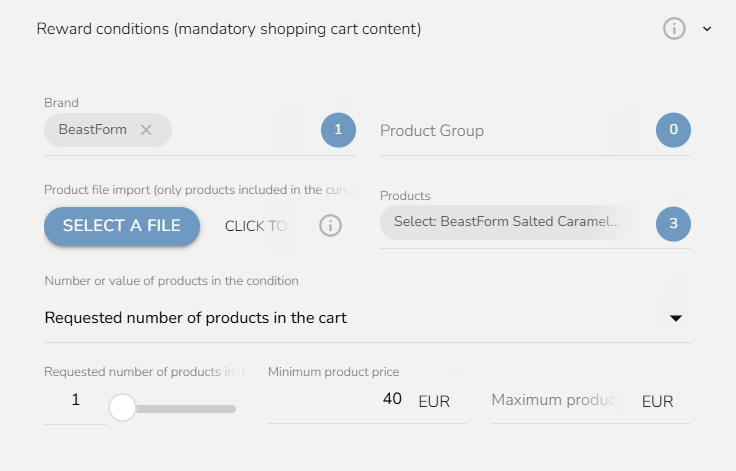
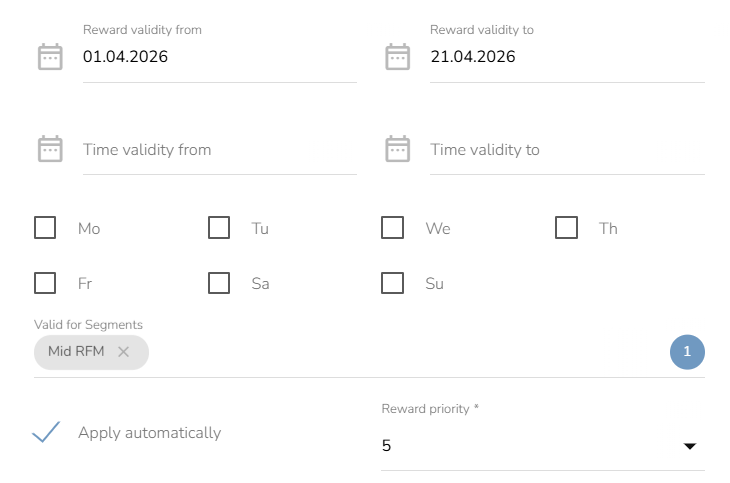
These rewards are not linked with automation workflows but apply to customers with certain attributes. In this case, we set the reward to be available only to the “Mid RFM” segment we created earlier. First, we will set up the necessary conditions: the products and a minimal number of them.
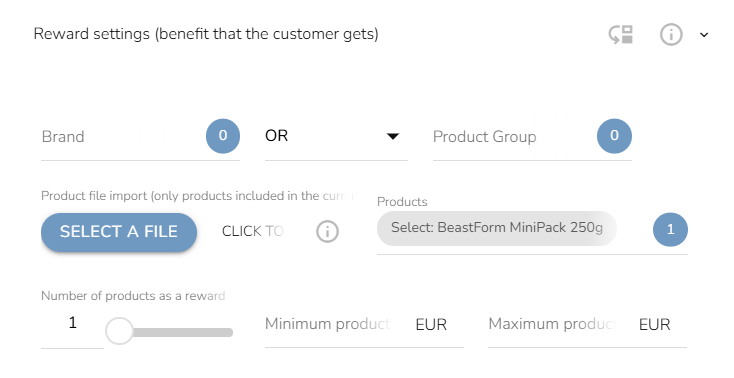
In a similar setting, we will set what reward (gift) customers receive with the new protein flavours. Set the special product (BeastForm Mini pack 250g) and set the number of products to “1.”
Finally, set the validity for 20 days to leverage urgency, and only for the Mid RFM segment we just created. This will ensure that no other customers can redeem this gift reward. Again, be sure to align it with the email countdown.
CREATING THE AUDIENCE
In this phase, we will create two custom audiences, “High-RFM Customers” and “Mid-RFM Customers.”
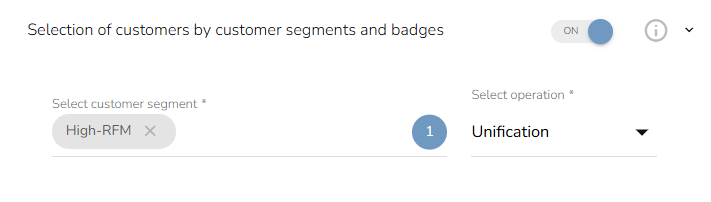
In the drop-down menu “Selection of customers by customer segments and badges,” choose the newly created “High-RFM” segment.
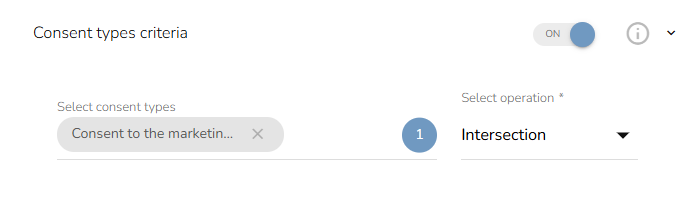
Tip #2: Only target customers who consented to marketing communication. This criterion is set by default in CareCloud.
There will be no other criteria. You can click the “Σ” symbol above the save button to check the preliminary number of customers.

We create a similar second audience, but only with the “Mid-RFM” segment. Now you have the two audiences that will receive alternative campaign versions.
SENDING THE CAMPAIGN
We have the email templates, a discount voucher, and custom audiences. It’s time to send the campaign.
The sending time is important when creating the campaign. Choose the day and time that suits your product type and customer base. Evening hours and weekends are generally not recommended, but leisure-time-oriented brands may benefit from them.
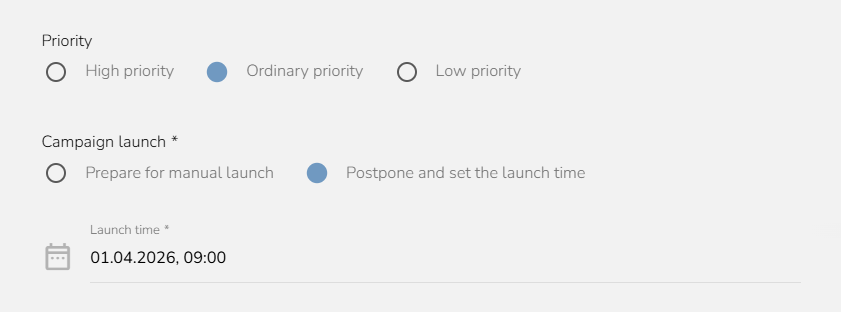
We will send the High-RFM campaign first — your elite customers will receive the promo first. Choose the “High-RFM Campaign” template from the drop-down menu and double-check that you send it to the “High-RFM Customers” audience.
Afterward, we set the “Mid-RFM Campaign” template the same way, only to be launched 3 days later. Make sure you choose the “Mid-RFM Customers” audience.
We will wait until both campaigns finish before examining the analysis.
CAMPAIGN ANALYSIS
Now, we will head over to the Analysis & Reporting app and see the results of our campaign.
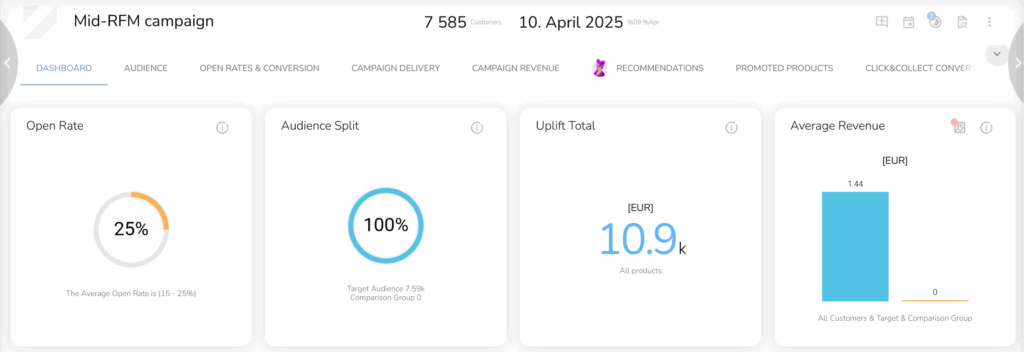
To get the most basic overview, we will open the Dashboard, which contains total uplift, conversions, open rate, revenue, and promoted product statistics. Each of these metrics has its own extended tab.
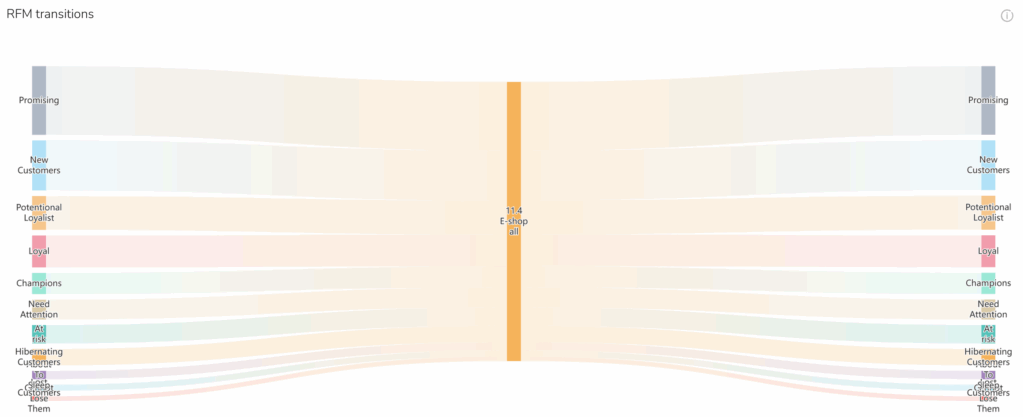
More importantly, we look at the RFM Transitions tab, which will directly show us how the campaign influenced customers. If Mid-RFM customers went up to High-RFM, you successfully solidified their loyalty.
TRANSFORM YOUR CAMPAIGNS WITH CARECLOUD
Our tutorial showed you a practical way to work with RFM segments. You can now make even more complex campaigns that focus on each segment individually or use RFM metrics in various automation workflows.
CareCloud has much more to offer. With every new tutorial, we will further explore our apps and tools, both major and minor.
RECOMMENDED
What is hot?
Orchestrating a seamless and exciting customer journey is the true test of…
We are excited to show you a brand new visual experience on…
Discover how to build a travel loyalty program that truly engages customers.…
GlassMorph Crystal Theme Discover a fresh new way to experience the CareCloud…
Omnichannel marketing delivers seamless experiences across multiple channels, but managing these campaigns…